


 The photo is taken from under the tree, towards the sun, so the tree is lit attractively in a dappled way.
A sidewalk is visible behind the bun, and grass, and the base of a large spruce tree. Various other plants are in the area with the rabbit, including some almost-blooming Dianthus and a yellow blobby every...yellow, I guess.
But the star is the bunny. It's his day. Hope yours is great, too.")
Recent searches
Search options

#scones
1 post1 participant0 posts today

Mary Berry’s ‘easy’ scone recipe that’s stayed the same for over 30 years https://www.diningandcooking.com/1987523/mary-berrys-easy-scone-recipe-thats-stayed-the-same-for-over-30-years/ #baking #bbc #food #MaryBerry #MaryBerryu2019sUltimateCakes #recipe #Recipes #RecipesTopics #Scones


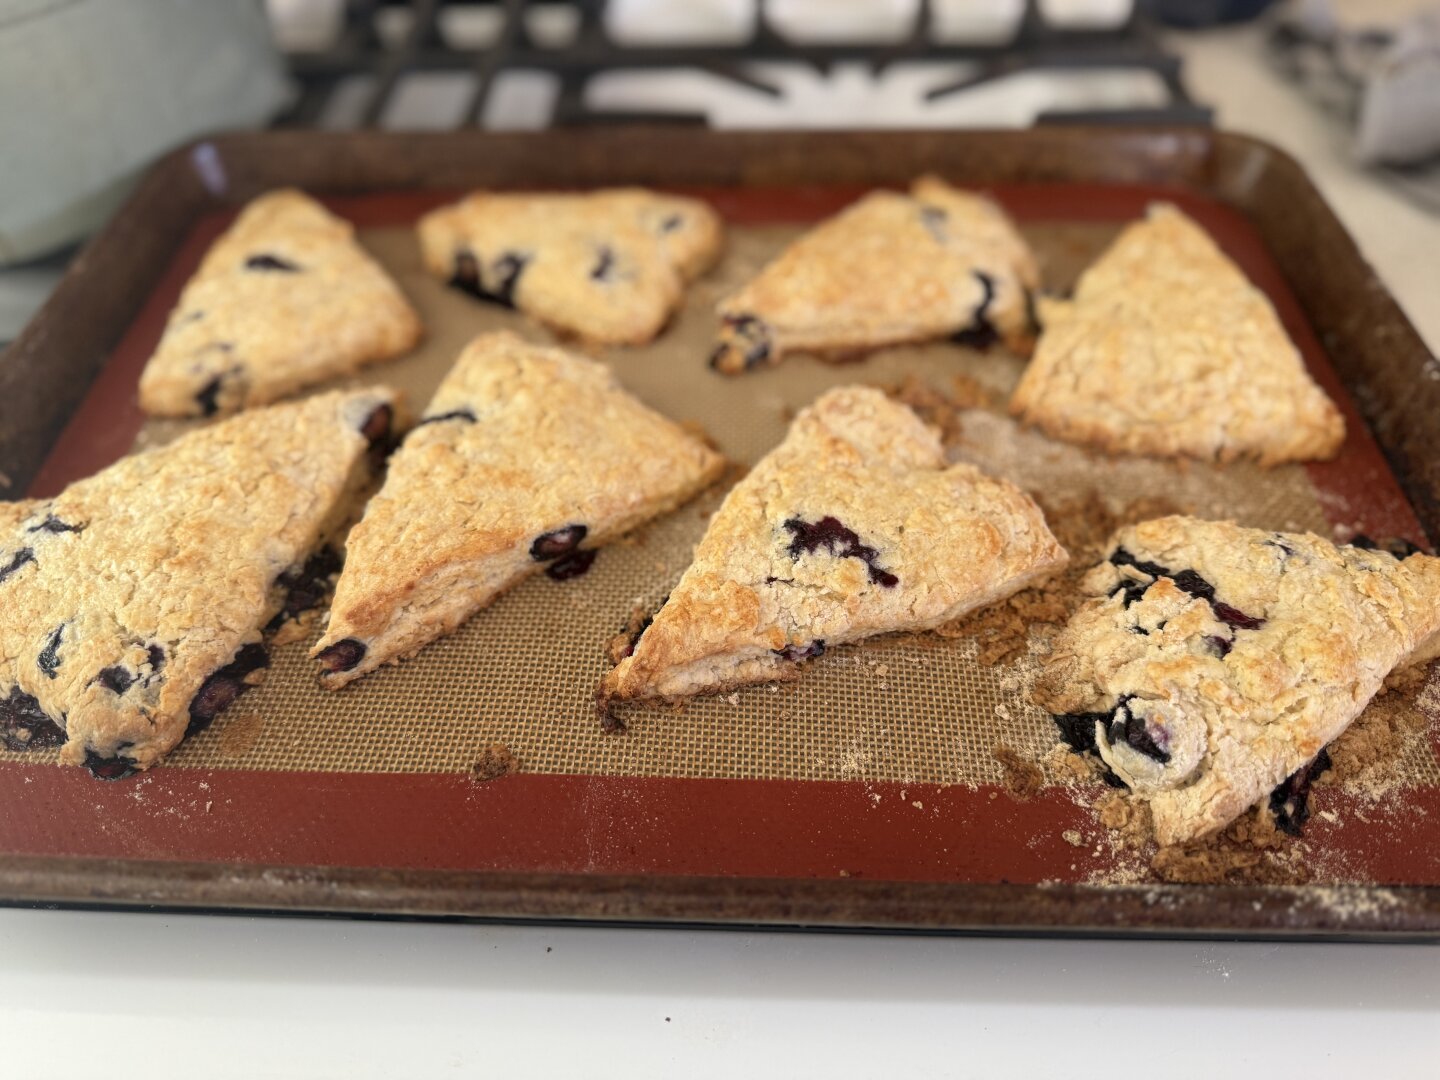
Valentine's Day from a couple years ago. These scones turned out a little derpy, but they were good.  #valentinesday #food #scones #everyonemustgetscones
#valentinesday #food #scones #everyonemustgetscones

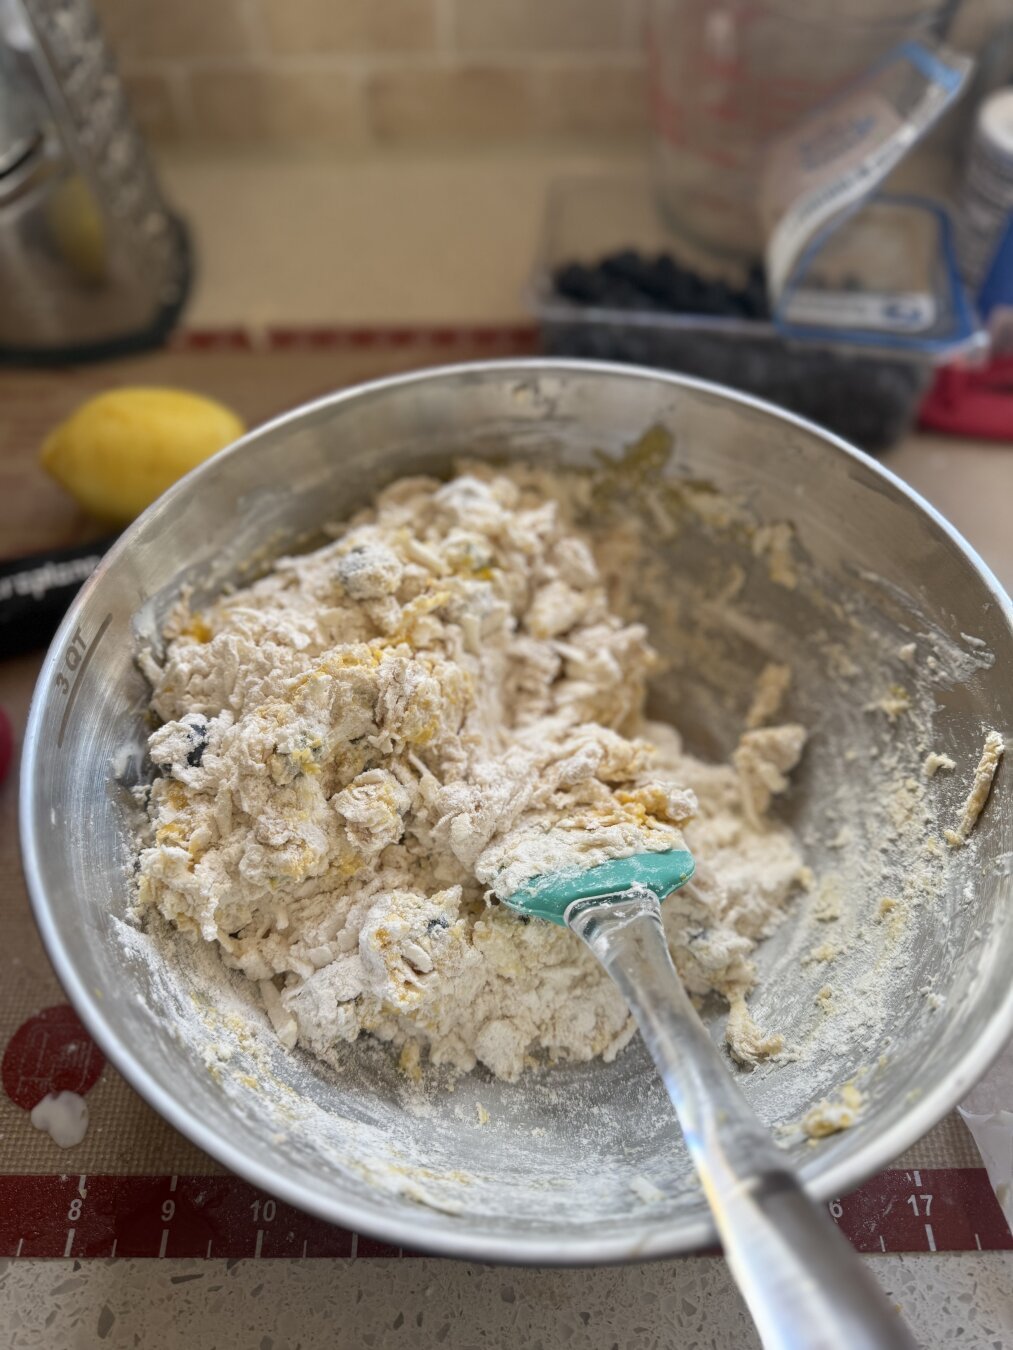
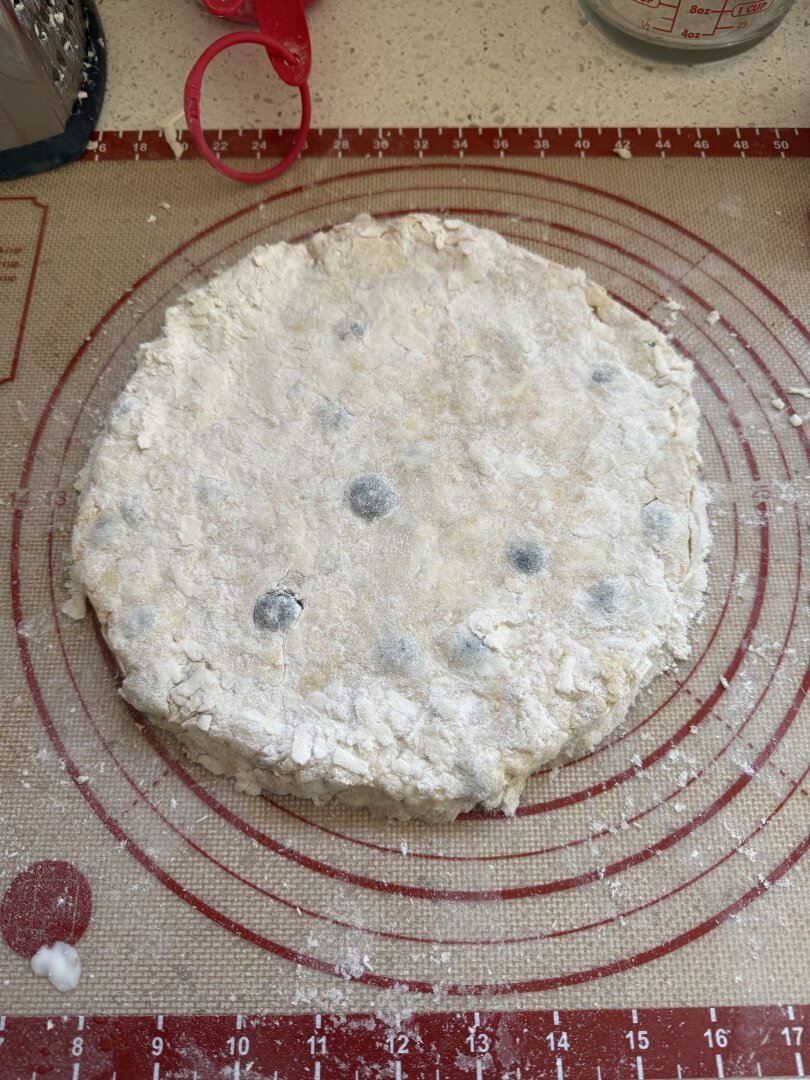
Well, they look sort of like #scones. They're gluten free, so hopefully they're alright.


Now following #Scones.


Enjoy these buttery and flaky scones, perfect for breakfast or an afternoon treat. #food #scones #reipes
Posted into Recipes You Need To Try @recipes-you-need-to-try-HonestAndTruly
Honest And Truly! · Sweet and Savory Treats: 13 Easy and Delicious Scone RecipesTry 13 easy and delicious scone recipes, from sweet to savory, perfect for any time of day. Simple to make and full of flavor.
While I enjoy baking, I never really bother with it around Christmas as I usually already find the period quite hectic. This year I had a little more time and felt a little more confident in trying some new recipes and I actually ended up baking quite a lot. On Christmas Eve I baked a wreath cake, a "kerststol", and some cookies and on "First Christmas Day" I baked cinnamon buns and on "Second Christmas Day" scones. The cinnamon buns can still be improved upon, but the scones and cookies were quite good!
#Christmas #ChristmasBaking #Baking #Food #VeganFood #Vegan #VeganBaking #Kerststol #Stollen #WreathCake #Scones #Bakken #Tulband #Kerst
#Christmas #ChristmasBaking #Baking #Food #VeganFood #Vegan #VeganBaking #Kerststol #Stollen #WreathCake #Scones #Bakken #Tulband #Kerst

 on plates.")


Whip up a batch of these delicious scones for a treat any time of day. #food #scones #recipes
https://honestandtruly.com/scone-recipes/?utm_source=flipboard&utm_medium=activitypub
Posted into Delicious Recipes You Need to Make NOW @delicious-recipes-you-need-to-make-now-HonestAndTruly
Honest And Truly! · Bake, Share, Enjoy: 13 Scone Recipes Perfect for Any Time of the DayBake, share, and enjoy 13 delicious scone recipes, perfect for any time of day. Try these easy-to-make treats for any occasion.

DEPRESSION-ERA PUMPKIN SCONES
This recipe comes from the 1930s, between the two World Wars, at a time of economic depression. It appears in my mother’s battered copy of the C.W.A. Cookery Book and Household Hints. C.W.A. stands for the “Country Women’s Association of Australia”, where my parents grew up.
I have not converted the original quantities to modern measurements because I think they speak for themselves.
To make these PUMPKIN SCONES, you will need:
2 cups of self-raising flour
1 tablespoon of butter
1 cup of cooked, mashed pumpkin that has cooled off
½ cup of sugar
1 egg beaten
1 tablespoon of hot water
a pinch of salt
Start by creaming together the butter and sugar with the tablespoon of hot water. Next, fold in the egg. When the mixture is smooth, gradually add in a little flour, then a little of the cold, mashed pumpkin; a little more flour, a little more pumpkin, until all the flour and pumpkin have been used up. Make sure that each addition is mixed in thoroughly before adding any more.
If the mixture seems too stiff, moisten with a little milk, until you have a firm but workable dough.
Most recipes tell you to roll out the scone dough and then cut them in to shapes. However, I have found that my scones have a better texture if I avoid handling the dough with my hands. Instead, I follow what my mother used to do. I get two tablespoons and make rough blobs, about the size of a golf-ball. OK, so they don’t look “pretty” and uniform, but they still cook well and taste delicious!
Whichever method you decide to use, pre-heat your oven before mixing your ingredients. The original recipe says the oven should be fairly hot. I use 200º C and the middle shelf. A large, flat baking tray is best. These days, it is easy to get non-stick baking parchment, to line the tray but I remember my mother just lightly sprinkling the bare baking tray with some flour, before adding the raw scones.
Bake in the “fairly hot” oven for 10 to 15 minutes, until the scones are well-risen and come away clean from the base of the tray. Once cooked, immediately loosen the scones with an egg slice and wrap in a clean tea towel over a cake-cooling rack.
These scones are sweet and should be served with plain butter or with a little jam and lots of whipped cream! Freeze any left-overs. They store well and can be gently thawed out by wrapping in tin foil and placed in a slow oven. Alternatively, thaw at room temperature and toast them before serving. Enjoy!
Author: Veronica Smith, originally published 12 December 2024


One of the best Sunday feelings: having a cookie jar full of freshly-baked scones to start the week.
.")